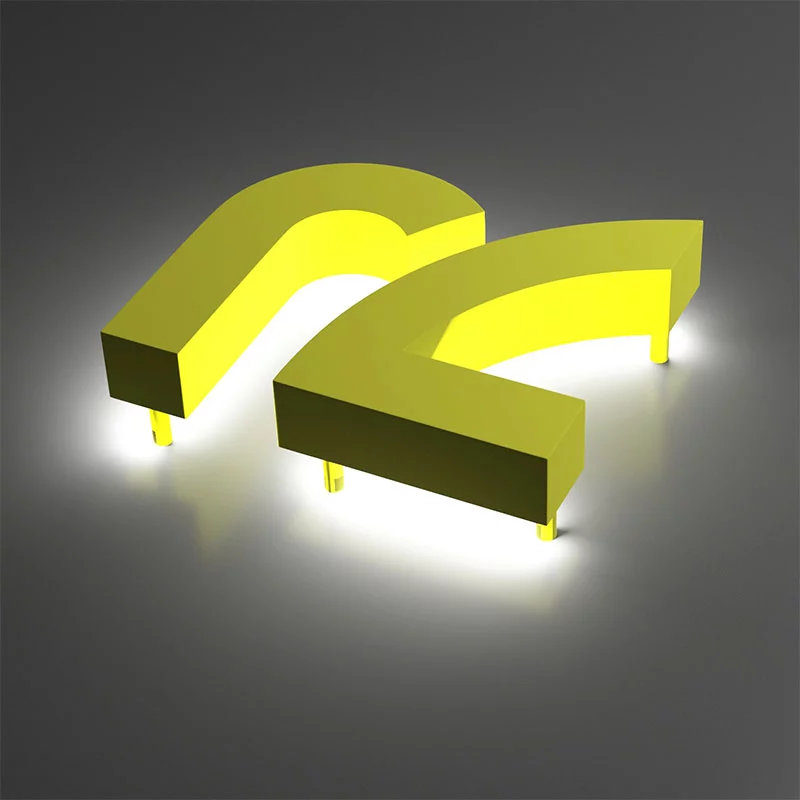
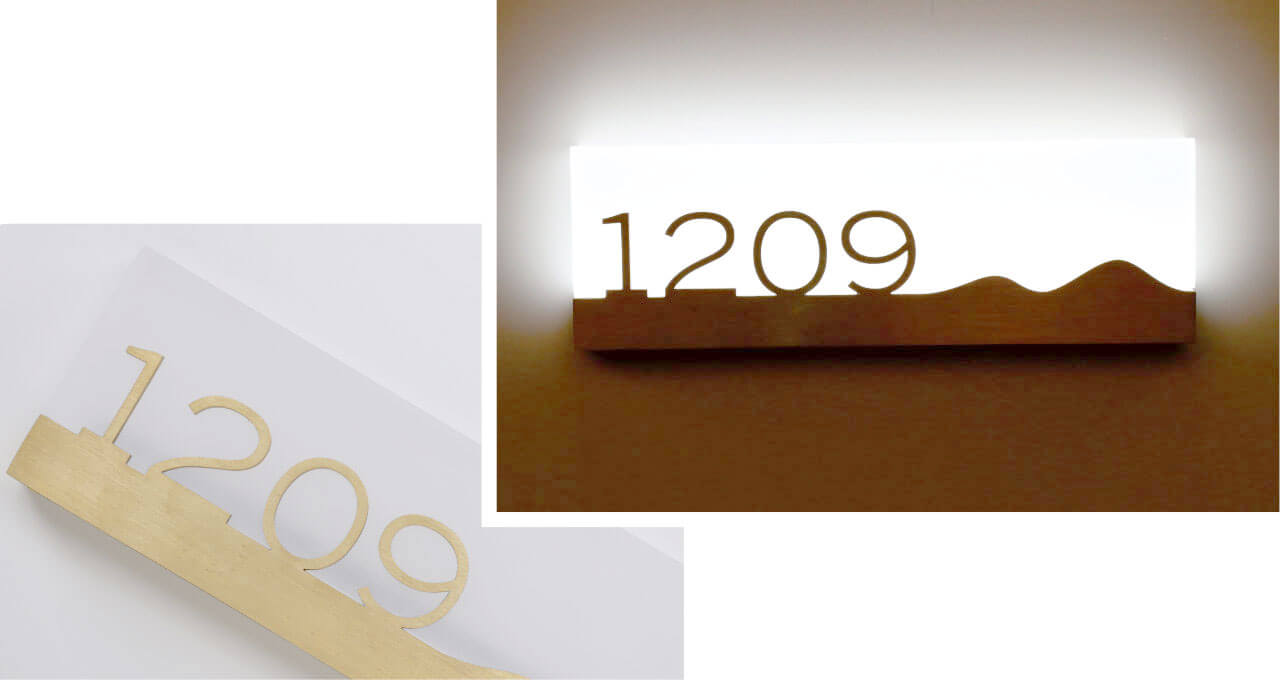
Transform your home decor with personalized charm using lighted sign letters. These eye-catching additions brighten any space while adding a unique touch. Installing them yourself can be a rewarding and straightforward project. With the right tools and guidance, you can enhance your walls, shelves, or outdoor areas effortlessly.
This DIY tutorial provides easy-to-follow steps, ensuring your lighted sign letters are securely installed and perfectly aligned. Let’s dive into creating a stunning decorative feature that reflects your style and creativity!
Lighted Sign Letters
Lighted sign letters are decorative, illuminated letters that are often used for signage or home decor. These letters are typically made from various materials such as acrylic, metal, or wood and are fitted with LED or neon lighting to create a glowing effect. They can be used both indoors and outdoors to add a personalized touch to spaces like living rooms, bedrooms, storefronts, or event venues.

Lighted sign letters are popular for their ability to create a striking visual impact, offering both functional lighting and aesthetic appeal. They are perfect for adding a modern, customized look to any environment.
How Lighted Sign Letters Can Enhance Your Decoration?
Stylish lighted sign letters can significantly enhance your decor by adding a unique, personalized touch to any space. Whether used in a living room, bedroom, or office, they create a captivating focal point that draws attention and adds character. The soft glow from LED or neon lighting creates a warm, inviting ambiance, while the letters themselves can be customized to reflect your style, whether it’s bold, minimalistic, or vintage.
These illuminated letters work well with various interior themes and can be placed on walls, shelves, or even as standalone features. Ultimately, they combine functionality with design, offering both aesthetic appeal and practical lighting to elevate the atmosphere of any room.
Essential Tools and Materials You’ll Need for Installation
Preparation is key for a smooth installation. Gather these essentials before you begin:
- Measuring Tape: Accurate measurements prevent misaligned letters.
- Pencil or Chalk: Mark positions without damaging your walls.
- Drill and Bits: Create holes for mounting screws with ease.
- Wall Anchors and Screws: Securely attach letters to any surface.
- Wire Connectors and Tape: Safely link your lighting components.
- Level Tool: Keep everything straight and visually appealing.
- Extension Cord or Batteries: Ensure your letters light up perfectly.
With these tools ready, you’re one step closer to transforming your space.
Step 1: Planning the Placement of Your Lighted Sign Letters
Before you start installing, planning the placement of your lighted sign letters is essential. Begin by measuring the space where you want to hang the letters to ensure they’ll fit perfectly. Lay them out on the floor to visualize the design and adjust until you’re satisfied. Use a level tool to check that the letters are aligned and straight.
Mark their positions lightly on the wall with a pencil for precision. Be sure to consider the power source, ensuring wiring won’t be obstructed. A little planning goes a long way in achieving a clean, professional-looking result!

Step 2: Preparing the Surface for Installation
Before mounting your lighted sign letters, it’s important to prepare the surface properly. Start by cleaning the area where you plan to mount the sign. Dust, dirt, or grease can prevent the letters from sticking securely. Use a damp cloth or mild cleaning solution to wipe the surface, then let it dry completely.
If you’re mounting on drywall, check for any imperfections and fill them in with spackles. For a smoother installation, ensure the wall is level and free of any bumps or irregularities. A clean, smooth surface ensures your sign letters stay in place and look polished once installed.
Step 3: Installing the Lighted Sign Letters
Now that your surface is ready, it’s time to install your premium lighted sign letters. Start by aligning the letters with the marks you made earlier, ensuring they’re straight and spaced evenly. Use a drill to create holes for screws or wall anchors, depending on the weight of the letters. Secure the letters in place by fastening them with screws or nails, making sure they’re tight but not too tight to avoid damaging the material.
For lighted signs with wiring, carefully connect the lights to the power source, ensuring all connections are secure and safe.
Step 4: Wiring and Connecting the Electrical Components
For good lighted sign letters that require electrical connections, Step 4 is all about safely wiring and connecting the components. Start by ensuring the power is off to avoid any electrical hazards. If your sign uses LED lights, connect the wires to the appropriate power source, whether it’s a plug-in adapter or battery pack.
Use wire connectors to securely join the wires and electrical tape to cover any exposed areas, ensuring everything is properly insulated. Double-check all connections to ensure they’re tight and secure. Finally, plug in the power source or insert the batteries, and test the lights to ensure they’re working before finishing up the installation.

Step 5: Testing and Adjusting the Lighted Sign Letters
Once your lighted sign letters are installed and wired, it’s time to test them. Turn on the power and check that all the lights illuminate properly. If some letters are dim or not lighting up, double-check the connections to ensure they’re secure. Adjust the brightness if your lights have that option to achieve the perfect glow.
If the sign isn’t aligned exactly how you envisioned, gently reposition the letters to fine-tune the layout. Take a step back and see how the lighted sign fits with the rest of your decor, making any final tweaks until everything looks just right. This step ensures your sign not only works perfectly but also adds the right touch to your space!
Step 6: Troubleshooting Common Installation Issues
If you encounter issues during installation, don’t worry troubleshooting is part of the process. First, check the power source if the lights aren’t turning on. Ensure the plug is securely connected or the batteries are properly installed. If some lights aren’t working, inspect the wiring for any loose connections or frayed wires. For signs mounted on uneven surfaces, use a level tool to adjust the positioning.
If the sign feels loose, make sure the screws or wall anchors are tightly secured. Lastly, if the sign isn’t aligned properly, gently adjust the letters to achieve the right placement. With these simple fixes, your lighted sign letters will shine bright and look great!
Final Touches: Enhancing Your Home Decor with Lighted Sign Letters
Now that your lighted sign letters are installed, it’s time for the final touches to elevate your home decor. Consider surrounding your sign with complementary accents, like framed artwork or plants, to create a balanced, eye-catching display. If your sign is in a prominent spot, such as above a fireplace or on a feature wall, highlight it with additional lighting to make it pop even more.
Experiment with color schemes lighted signs look fantastic with neutral tones or bold, contrasting shades that match your existing decor. Finally, step back and admire your work. These personalized touches will not only brighten your space but also add a unique, stylish flair to your home!
Conclusion
In conclusion, installing popular lighted sign letters is a fun and creative way to enhance your home decor. With the right planning, preparation, and execution, you can create a stunning display that reflects your unique style. Whether you’re brightening up a living room, bedroom, or outdoor space, these signs will surely make a statement.

If you’re interested in buying high-quality lighted sign letters to transform your space, don’t hesitate to contact Ruaning Advertising. We offer a wide selection of custom designs to suit your home’s needs, ensuring your decor shines bright with personality!
FAQs
What are lighted sign letters made of?
Lighted sign letters are typically made from materials like acrylic, metal, wood, or PVC, with LED or neon lights integrated to illuminate them.
Can lighted sign letters be used outdoors?
Yes, many lighted sign letters are designed for both indoor and outdoor use, especially those made from weather-resistant materials like metal or durable acrylic.
How do I power lighted sign letters?
Lighted sign letters are powered by either plug-in adapters (using electricity) or battery-operated systems, depending on the model you choose.
Are the lighted sign letters easy to install?
Yes, they are generally easy to install with basic tools like a drill, screws, and a level. Follow the manufacturer’s instructions for a smooth setup.
Can I customize the design of my lighted sign letters?
Absolutely! Many suppliers offer customizable options for size, font, color, and lighting style, allowing you to create a sign that fits your exact preferences.


